

Whether you’re job hunting on LinkedIn or building your online empire, sooner or later, you’ll need good photos.
But professional photoshoots? Expensive. DIY attempts? Frustrating.
So what do you do?
Don’t panic. Now we have AI to save the day.
With a few clicks (and zero tech wizardry), you can create amazing, customized photos that make you look like a pro.
Want to be giving a speech at a TED Talk? Done. Dreaming of working from a chic beach house? AI’s got you covered.
And the best part? It’s fast, cheap (like $0.03 per image cheap), and completely fuss-free. No awkward poses or trying to fix bad lighting for hours.
Ready to see how easy this is? Let’s begin!
The Preliminary Photoshoot Steps
Step 1: Gather High-Quality Photos
Take or collect new photos of yourself to serve as the foundation for the AI. Include a mix of front-facing and side-profile photos, headshots, and full-body images in both standing and sitting positions.
Use high-quality images with diverse expressions: Serious/professional, smiling with teeth, closed-mouth smiles, etc.
Ensure ample lighting—avoid dark or dim settings.
Avoid social media filters; instead use unedited photos for better results. Crop out any unnecessary backgrounds or additional people.
Save your images as individual files or compile them into a zip file for uploading.
Rename your images using your name followed by a number (e.g., johndoe_01, johndoe_02, johndoe_03).
This naming convention is essential because you’ll use it as the Trigger Word during training. Ensure all images have the same base name.
This is what I did: I asked the wife to send me a few pics of herself and zipped up the file.

Step 2: Create a GitHub Account

Go to GitHub.com and sign up for a free account. This is just the platform that connects you to the AI tool you’ll be using.
Verify your account via email.
Step 3: Access the AI Training Platform
Visit the Flux LoRA AI training page: FAL.ai
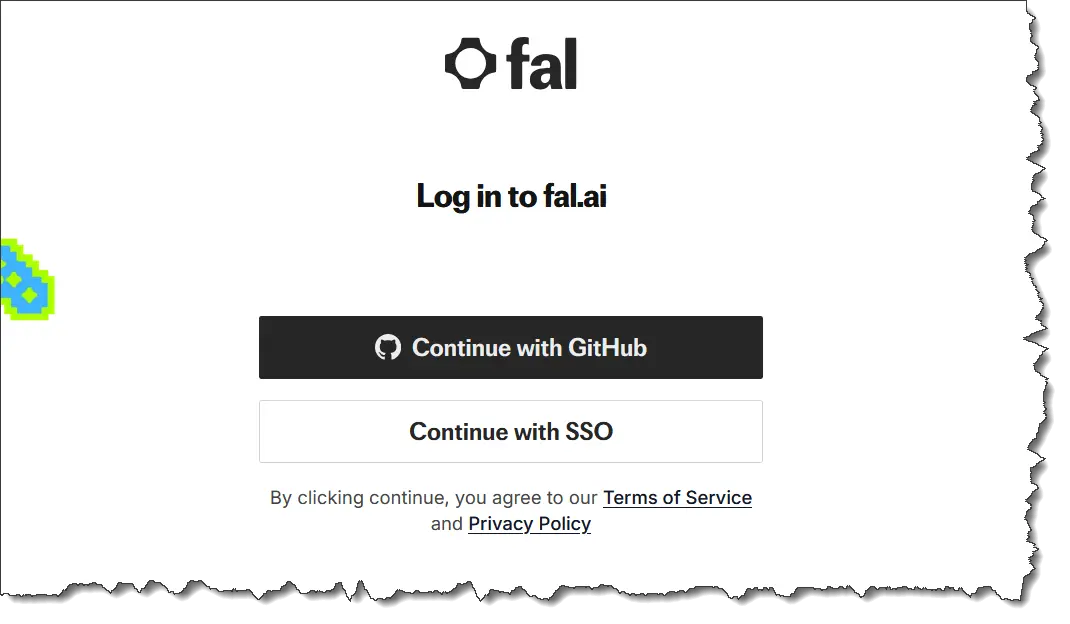
Click on ‘Sign up’

You’ll see this next… Click on Continue with GitHub.
Click on Authorize fal-ai.

Congrats! You’re in!
This is the training page. You need to train your Flux LoRA AI tool in order for it to work for you with your images.
But first, we need to add some funds to the account! No pay, no play.
Click on the + icon and add funds to your account.

The minimum is $10, so don’t try to pay $2 and hope to get away with it.

After topping up your account, you should see this…

Fantastic! We’re ready to rock and roll – does anyone even say that?
Do note:
You only need to complete the training process once for each person.
After that, you can generate images for just over $0.03 each, with the option to create up to four images at a time. This means you can achieve great results without spending much.
Training Cost: $2 per training session (at time of writing).
Image Creation Cost: ~$0.03 per image (up to 4 images at a time).
Creating the Prompt
First things first… before using the tool, we need a prompt that we can use later.
If you’re not confident in creating prompts, you can use a tool like ChatGPT to help. Just tell it what kind of image you want!
For example:
Do you want to look like you’re working on your laptop from a beach house deck?
How about giving a speech on stage at a TED Talk-style presentation?
Ask ChatGPT to create a prompt based on your idea. Be as specific as possible with details like:
- Setting: A home office, a professional stage, or a cozy beach deck.
- Your appearance: Hair, makeup, outfit, accessories, and facial expression.
- Time of day: Sunrise, sunset, rainy, or sunny.
- Extras: A laptop, coffee cup, stack of books, or flowers.
For instance, you could say:
“Create a prompt for an image of me giving a professional presentation. I want to be on stage with a sleek background, wearing a navy-blue suit, smiling confidently, with the audience visible in soft focus and dramatic spotlighting on me.”
This won’t be your final prompt—just a starting point. Keep in mind that while detailed prompts are helpful, they can limit the AI’s creativity.
This is what I did: I asked ChatGPT to write the prompt for me!

And that’s the prompt I’ll use!
Training the AI Tool
Step 1: Upload Your Images
Upload your images to the platform. You can upload them as a zip file or one by one. (I’ll be uploading them as a zip file.)
Make sure to use images of only one person per training session. Upload all images to give the AI plenty of data to work with.
Step 2: Enter the Trigger Word
Set the Trigger Word to the base name of your images (e.g., “johndoe”). Do not include numbers from the file names—only the main name is needed.
Step 3: Adjust Training Settings
Leave most settings at their default values.
Review the Masks option: Use this if you want to focus training on specific features, such as the face.
Adjust the Steps: The default is 1, but increase this to around 500 steps for better results. More steps provide more detailed training.
This is what I did: I uploaded the zip file of my wife’s pics and used the settings below…

Step 4: Start Training
Start the training mode. The status will change to “In Progress.”
Training typically takes around 2 minutes for about 16 images.
Step 5: Complete the Training
Once training is finished, the platform will notify you.

You’re now ready to use the AI for your virtual photoshoot. Click on ‘Run inference’.
This will take you to a new page where you’ll input your prompt.
IMPORTANT! Input your file name first!
Type the file name (e.g., johndoe) in the box before adding your prompt. This tells the AI to use the images you uploaded.
Then copy and paste your prompt below the file name. (See image below)

Customize Additional Settings
Image size: Choose square, portrait, landscape, or custom sizes. HD options cost a bit more.
Inference steps: This controls image detail. It defaults to 28, but increasing it gives more detail (though it takes longer).
Guidance scale: This controls how closely the AI sticks to your prompt. The default is 3.5. For precise results, increase it; for more creative flexibility, lower it.
Number of images: You can generate 1–4 images at a time. Since they’re inexpensive, generating four lets you pick the best one.
Select the output format: JPG or PNG. PNG is ideal for online use.
Click Run.
The AI will generate your images in a few moments. The images are saved for 7 days, so download them to your files before they’re deleted.
If you need them later, check the Requests tab to re-download or tweak the prompt.
And This is What I Got!

These photos definitely look good enough to use. Even I’m impressed.
She looks quite professional. Almost like a CEO or some C-suite officer… ahem… despite being jobless in real life HAHAHAHAH!
Anyway, that’s how you use AI to create photoshoots for yourself. Easy peasy.
Fine-Tuning Your AI Magic
AI-generated images aren’t always perfect, but tweaking them is relatively easy.
Examples of tweaks:
Zoom in closer for a headshot or zoom out to include more of the background.
If the images aren’t perfect, you can adjust the prompts.
Fix colors, clothing, or hair. Request specific styles like a magazine cover or hyper-realistic photography.
If you’re unhappy with the results, upload better training images or use editing tools like Canva or Photoshop for the final touches.
Want a magazine cover vibe or the style of a famous photographer? Just adjust your prompt to nail the look you’re after.
- Too zoomed in? Ask for more background.
- Need a tighter headshot? Tell it to zoom closer.
- Don’t love the outfit or hair color? Update the prompt to fix it!
- You can even specify “hyper-realistic” to avoid cartoonish results.
If things still feel off, upload better training images or polish the final product using tools like Canva or Photoshop.
A few tweaks, and you’ll have a masterpiece!
How to Turn AI Photoshoots Into a Profitable Side Hustle
Here’s how you can use AI photoshoots to make money quickly and easily:
Cater to Specific Audiences
Help entrepreneurs, fitness coaches, authors, or influencers get the professional photos they need—home offices, gym shots, book signings, or even lifestyle images. Tailor photos to their niche.
Inspire and Motivate
Offer photos that help people visualize their dream life—like being fit, working from a beach house, or succeeding on a big stage. These images can double as motivational tools.
Sell Affordable Photoshoots
Set up shop on Fiverr or social media. Clients send you their photos and requests, and you use AI to deliver polished, pro-quality images for a fraction of the cost of traditional shoots.
Bundle and Customize
Create themed packages, like holiday or branding sets, and offer multiple photos in one affordable deal. Make it personal and unique to stand out.
Build Relationships
Make it easy for clients to come back—offer revisions, discounts, or quick consultations to nail what they need. Happy customers mean referrals and repeat business.
That’s a Wrap!
By now you’d have realized that AI-powered virtual photoshoots are a fantastic option for people on a tighter budget.
This tool makes it simple and affordable to create photos that truly represent who you are and where you want to be.
Whether it’s building your personal brand, visualizing your dream life, or even offering this as a service, the possibilities are endless and exciting.
Give it a try—you’ll be amazed at how quickly you can create photos that inspire and impress!